Camera Shake
>> using Unity engine 2018.3
35 minutes to complete
You will learn to write a script to simulate camera shake. You will use Perlin noise to control the frequency and magnitude of the shake effect.
Camera shake can be a powerful tool to communicate impacts or shockwaves to players. This article will describe step-by-step techniques to implement a dynamic shake effect controlled by Perlin noise, based on this GDC talk by Squirrel Eiserloh. While the goal of this article will be to implement camera shake, the same techniques can be used to apply shake motions to any kind of object or UI element.
Prerequisites
To complete this tutorial, you will need a working knowledge of Unity engine and C#.
Download starter projectThese tutorials are made possible, and kept free and open source, by your support. If you enjoy them, please consider becoming my patron through Patreon.
Become a patronGetting started
Download the starter project provided above, open it in the Unity editor and open the Main scene. If you expand the CameraContainer object and select the Camera, you will see the ShakeableTransform script attached to it. This script will control the camera shake effect; open it in your preferred code editor.
1. Random motion
As our camera exists in 3D space, we have available six axes we can shake it on: three translational (movement) and three angular (rotation). We will begin with some simple random movement on the X axis. Add the following to the Update method of ShakeableTransform.
transform.localPosition = new Vector3(Random.Range(-1, 1), 0, 0) * 0.3f;We assign a random value between -0.2 and 0.2 to the X position of the camera, leaving the other two dimensions at 0.
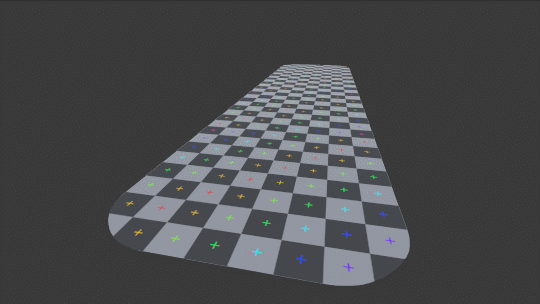
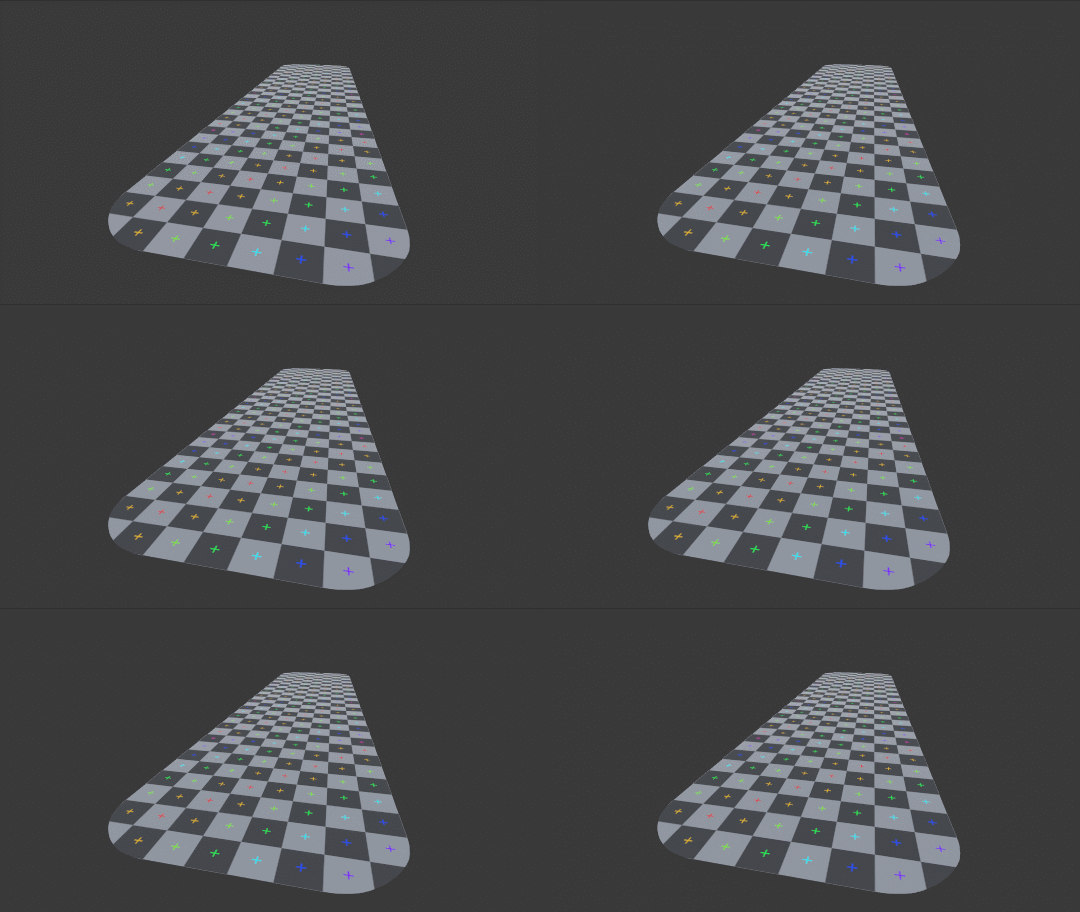
This has actually produced a fairly effective result. We will add the Y and Z axes to see the full output. Replace the previous line of code with the following.
transform.localPosition = new Vector3(Random.Range(-1, 1),Random.Range(-1, 1), Random.Range(-1, 1)) * 0.3f;

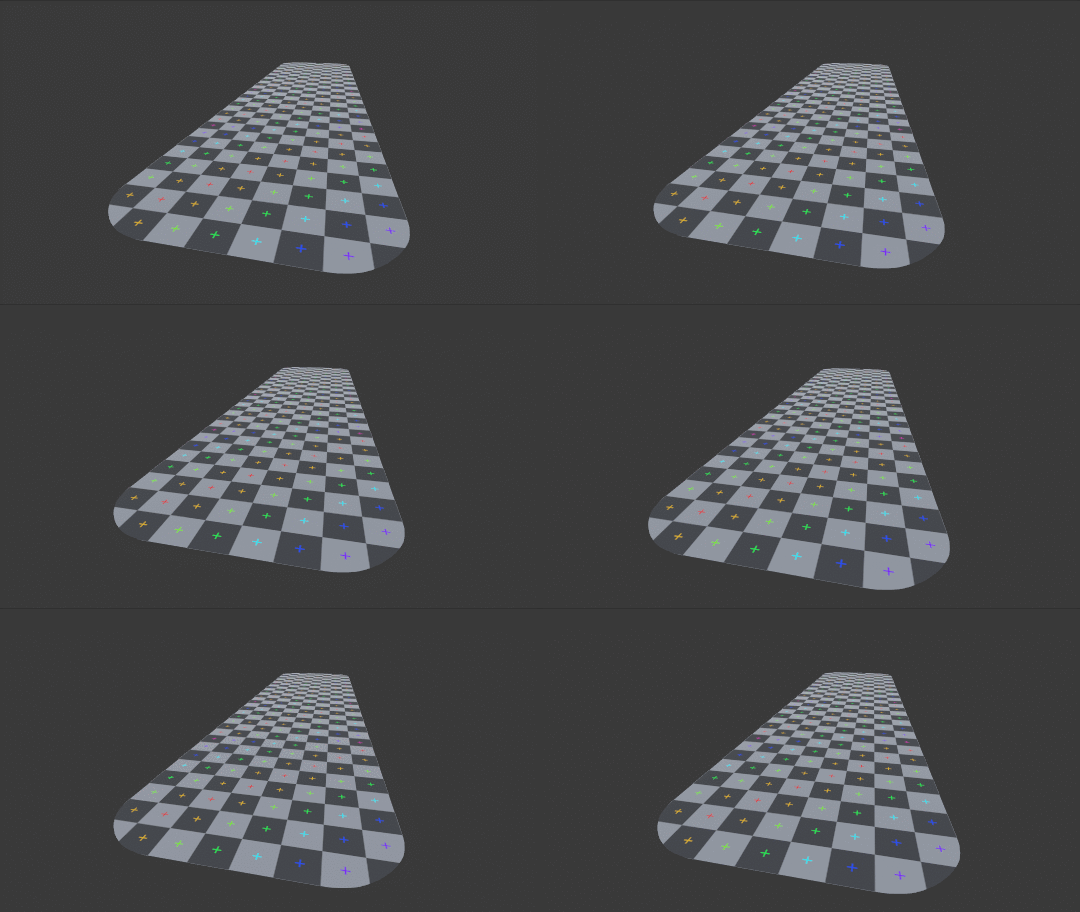
All three axes together create a convincing camera shake. For some applications, this might be a satisfactory enough solution (angular shake can be added in the same manner). However, this method has some shortcomings: a completely new random position is generated and immediately jumped to each frame; there is no interpolation between the new position and the old.
Increasing the scaling factor from 0.2f to a larger number, like 1 or 2, makes this more apparent. This can create overly disjointed motion, and makes it impossible to control the speed of the camera shake.

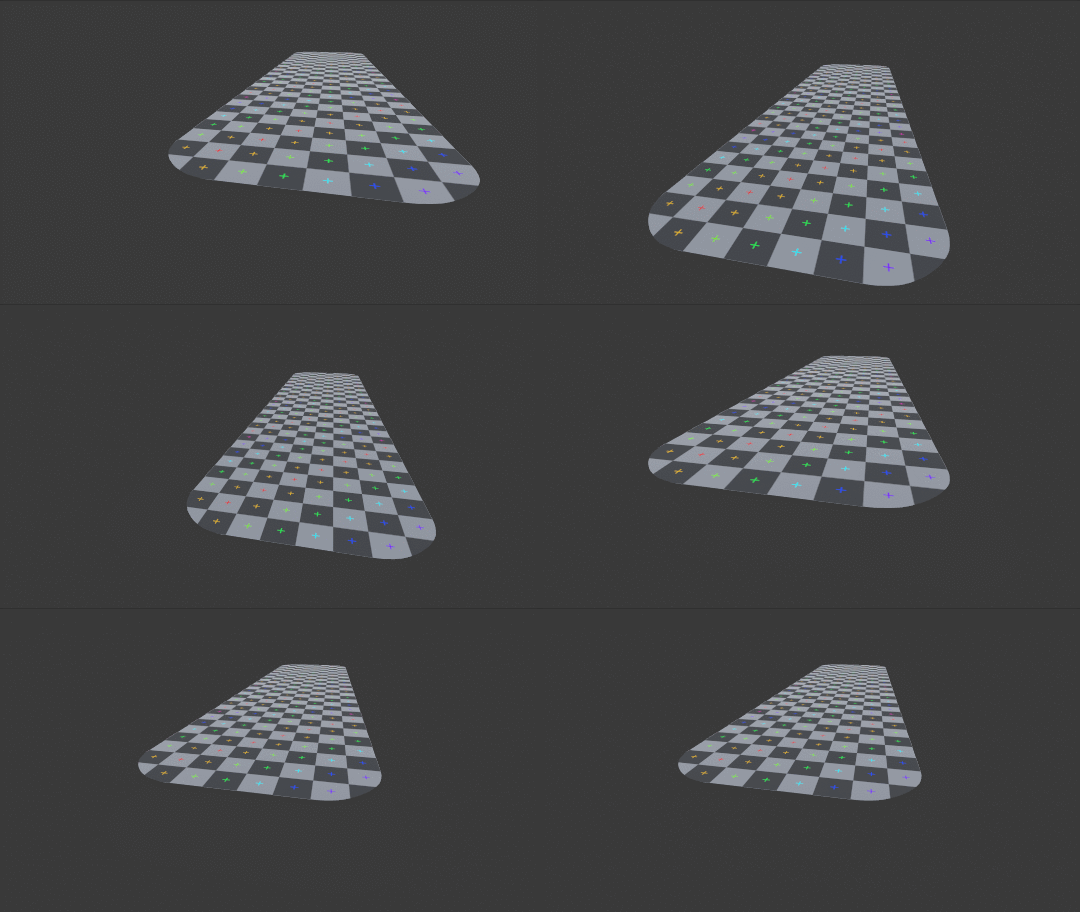
To resolve this, we will need to calculate random values that maintain continuity—in that the previous values influence the next—to prevent large jumps. We will achieve this using Perlin noise.
2. Perlin noise motion
Our goal is to generate a series of values that appear random but maintain continuity, instead of a completely random value each frame. Perlin noise is ideal for this. Unity implements a function to generate Perlin noise from a two-dimensional input in Mathf.PerlinNoise.
Given a Vector2 as input, Mathf.PerlinNoise will return a pseudo-random value in the 0...1 range. The key here is that similar input values will result in a similar output; this is the main advantage over Random.Range, where returned values cannot be controlled by an input.
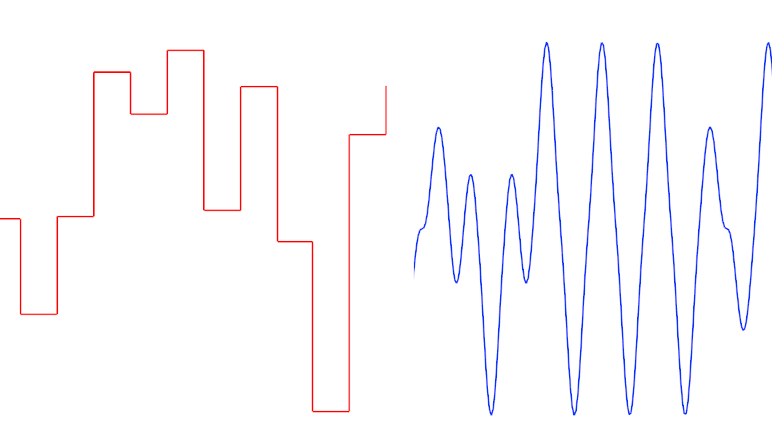
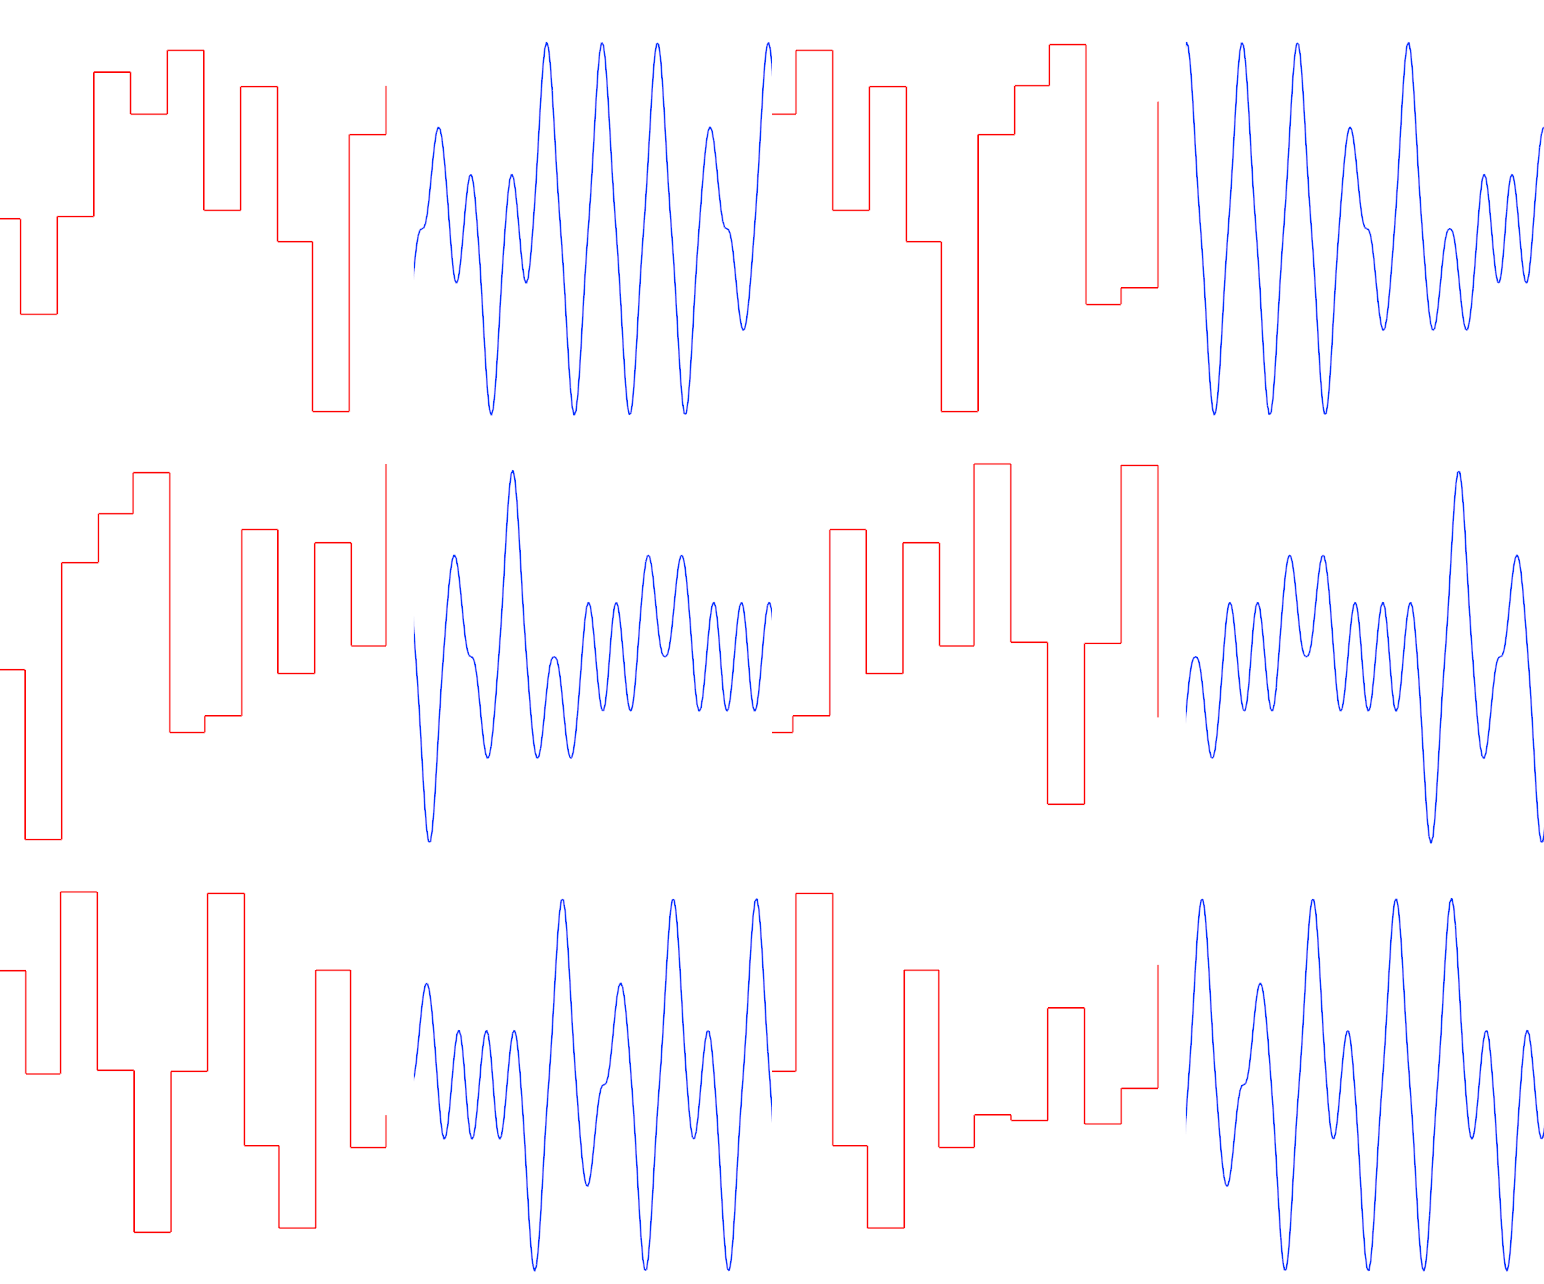
We will once again add shake to the X axis, but this time using Perlin noise. Replace the existing line of code with the following.
transform.localPosition =new Vector3(Mathf.PerlinNoise(0, Time.time) * 2 - 1, 0, 0) * 0.5f;
Although Mathf.PerlinNoise takes in a Vector2 as input, we keep the X value fixed at 0; scrolling through the noise on a single axis—using Time.time—is sufficient input. Note that Mathf.PerlinNoise returns a value in the 0...1 range; we transform it into the -1...1 range before using the value.
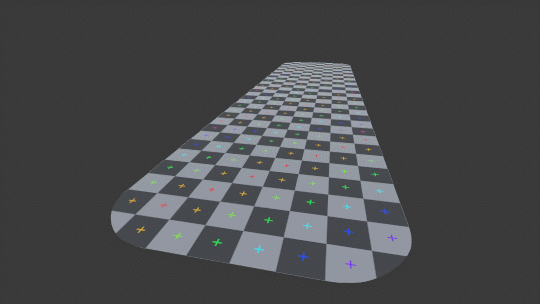
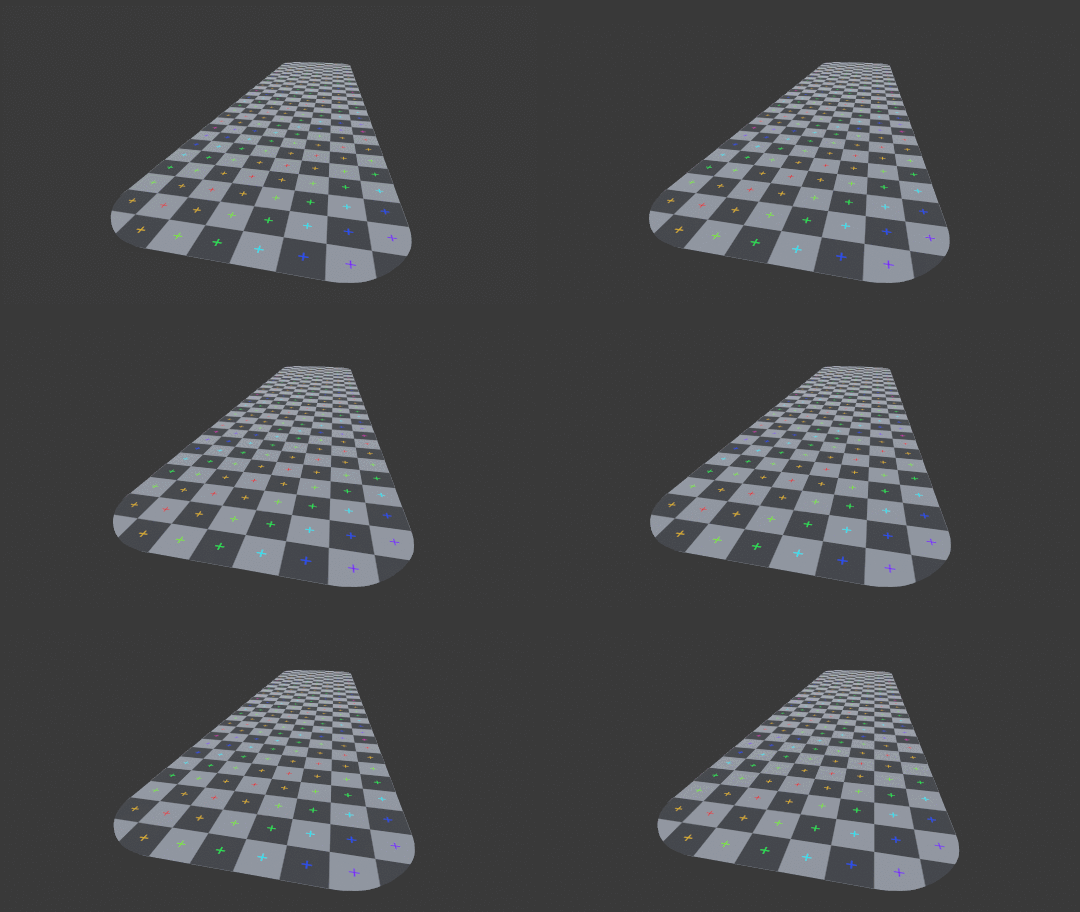
This has created smoother motion, but at a significantly slower speed. We will add a new field to control the speed of the shake.
// Add as a new field. [SerializeField] float frequency = 25; … // Modify the existing code in Update(). transform.localPosition = new Vector3(Mathf.PerlinNoise(0,Time.time * frequency) * 2 - 1, 0, 0) * 0.5f;
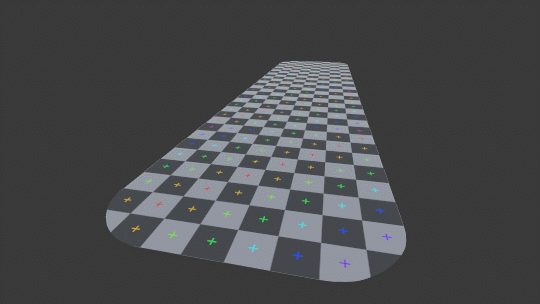
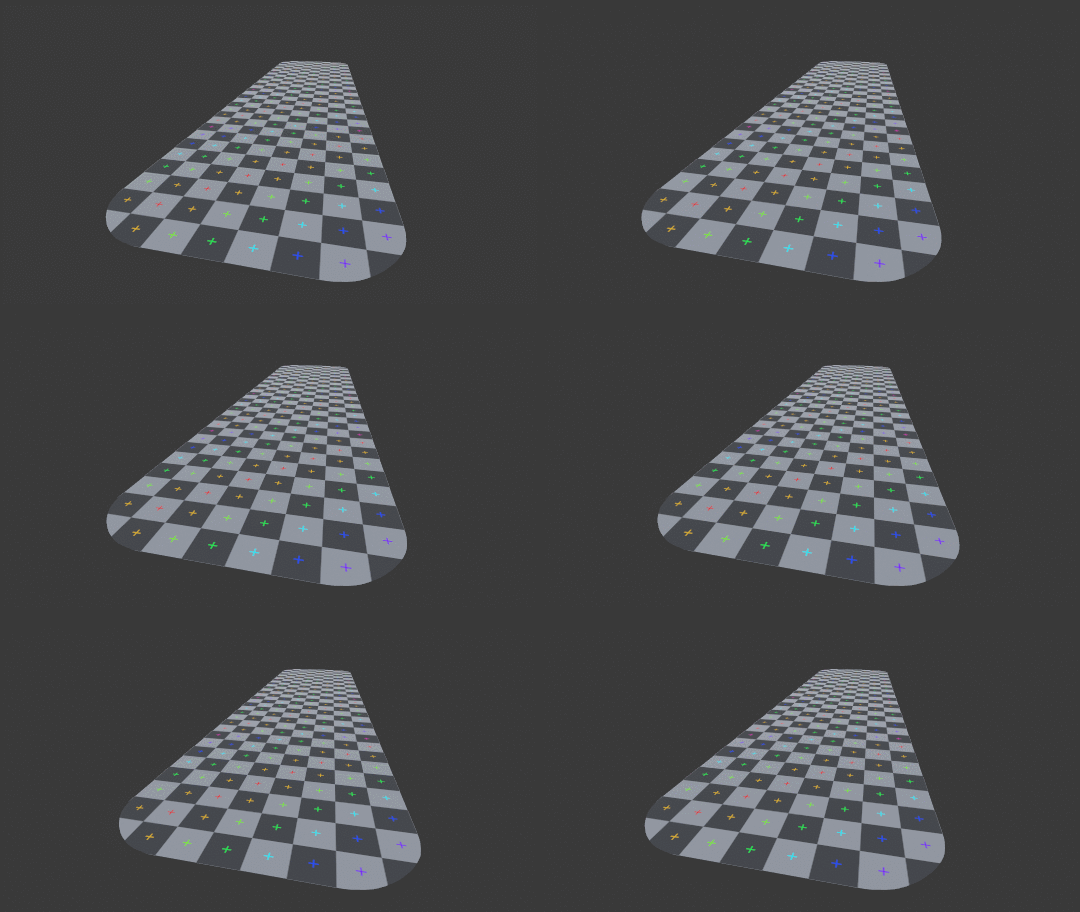
Larger values of frequency will result in faster shaking. Like before, we will add the other two axes in.
// Replace the previous line setting transform.localPosition.transform.localPosition = new Vector3(Mathf.PerlinNoise(0, Time.time * frequency) * 2 - 1, 0, 0) * 0.5f;transform.localPosition = new Vector3( Mathf.PerlinNoise(0, Time.time * frequency) * 2 - 1, Mathf.PerlinNoise(0, Time.time * frequency) * 2 - 1, Mathf.PerlinNoise(0, Time.time * frequency) * 2 - 1 ) * 0.5f;
Since the values returned by Mathf.PerlinNoise are deterministic, running the function with the same inputs for each axis has resulted in all three axes having the same shake value. Setting the frequency to a value of 1 will make it apparent that the camera is travelling in a fixed diagonal path, rather than shaking around randomly. We will resolve this by incrementing the X value of our input.
transform.localPosition = new Vector3(
	Mathf.PerlinNoise(0, Time.time * frequency) * 2 - 1,
	Mathf.PerlinNoise(1, Time.time * frequency) * 2 - 1,
	Mathf.PerlinNoise(2, Time.time * frequency) * 2 - 1
) * 0.5f;

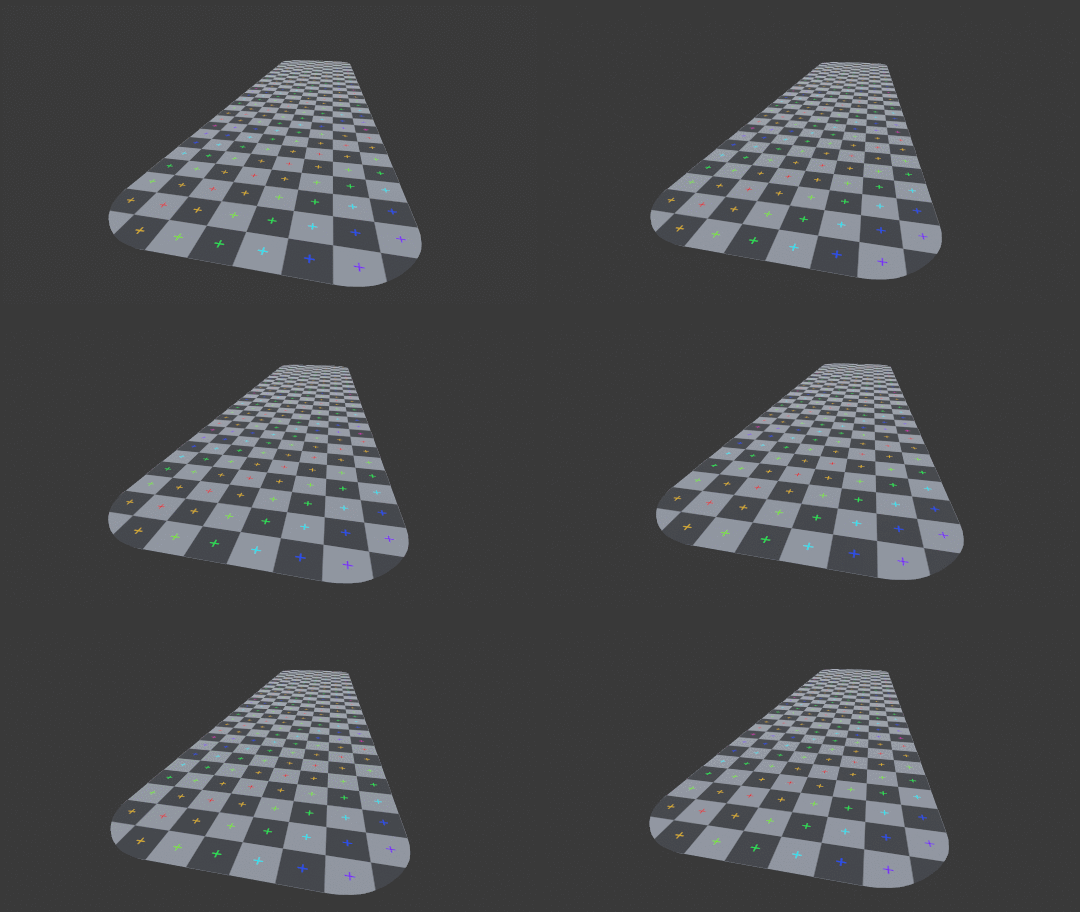
This has fixed the issue, but created a future potential problem: if there are multiple ShakeableTransform objects in the scene, they will all shake with the exact same motion. This can be averted by calculating a per-instance random seed to further offset the input.
// Add as a new field and method.
private float seed;

private void Awake()
{
	seed = Random.value;
}

…

// Modify the existing code in Update().
transform.localPosition = new Vector3(
	Mathf.PerlinNoise(seed, Time.time * frequency) * 2 - 1,
	Mathf.PerlinNoise(seed + 1, Time.time * frequency) * 2 - 1,
	Mathf.PerlinNoise(seed + 2, Time.time * frequency) * 2 - 1
) * 0.5f;
Right now we are scaling the entire shake effect by a constant, 0.5. This should be stored in a field and exposed to the inspector. While we could use a float—as before—if we instead use a Vector3, we will be able to scale each axis individually.
// Add as a new field. [SerializeField] Vector3 maximumTranslationShake = Vector3.one * 0.5f; … transform.localPosition = new Vector3(maximumTranslationShake.x * (Mathf.PerlinNoise(seed, Time.time * frequency) * 2 - 1),maximumTranslationShake.y * (Mathf.PerlinNoise(seed + 1, Time.time * frequency) * 2 - 1),maximumTranslationShake.z * (Mathf.PerlinNoise(seed + 2, Time.time * frequency) * 2 - 1))* 0.5f;
Up until now, we have only implemented translational shake. Before going any further, we will add in angular shake using the same techniques.
// Add as a new field.
[SerializeField]
Vector3 maximumAngularShake = Vector3.one * 2;

…

// Add below the code assigning transform.position.
transform.localRotation = Quaternion.Euler(new Vector3(
	maximumAngularShake.x * (Mathf.PerlinNoise(seed + 3, Time.time * frequency) * 2 - 1),
	maximumAngularShake.y * (Mathf.PerlinNoise(seed + 4, Time.time * frequency) * 2 - 1),
	maximumAngularShake.z * (Mathf.PerlinNoise(seed + 5, Time.time * frequency) * 2 - 1)
));
Shaking with both movement and rotation is not always necessary. For 3D, it is often undesirable to include translational shake, as the movement can cause the camera to clip through nearby objects.
3. Shaking from trauma
Right now, the camera shakes continuously without any outside input. While this might be appropriate for an earthquake or similar scene, it's often desirable to have the camera shake from nearby impacts or effects. To accomplish this, we will control the camera's shake magnitude with a value called trauma.
Trauma will be a float value in the 0...1 range that will be multiplied into our shake strength. As well, trauma will be constantly decreasing, allowing the camera to recover from impacts when they occur.
// Add as a new field. [SerializeField] float recoverySpeed = 1.5f; … // We set trauma to 1 to trigger an impact when the scene is run, // for debug purposes. This will later be changed to initialize trauma at 0. private float trauma = 1; … // Modify the existing code in Update(). transform.localPosition = new Vector3( maximumTranslationShake.x * (Mathf.PerlinNoise(seed, Time.time * frequency) * 2 - 1), maximumTranslationShake.y * (Mathf.PerlinNoise(seed + 1, Time.time * frequency) * 2 - 1), maximumTranslationShake.z * (Mathf.PerlinNoise(seed + 2, Time.time * frequency) * 2 - 1) )* trauma; transform.localRotation = Quaternion.Euler(new Vector3( maximumAngularShake.x * (Mathf.PerlinNoise(seed + 3, Time.time * frequency) * 2 - 1), maximumAngularShake.y * (Mathf.PerlinNoise(seed + 4, Time.time * frequency) * 2 - 1), maximumAngularShake.z * (Mathf.PerlinNoise(seed + 5, Time.time * frequency) * 2 - 1) )* trauma); trauma = Mathf.Clamp01(trauma - recoverySpeed * Time.deltaTime);
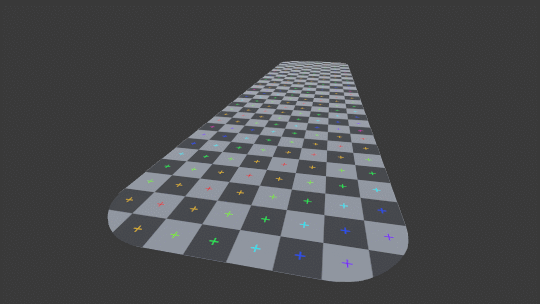
Running the scene now, you will see the shake intensity fade away over time. The larger a recoverySpeed, the shorter impacts will last.
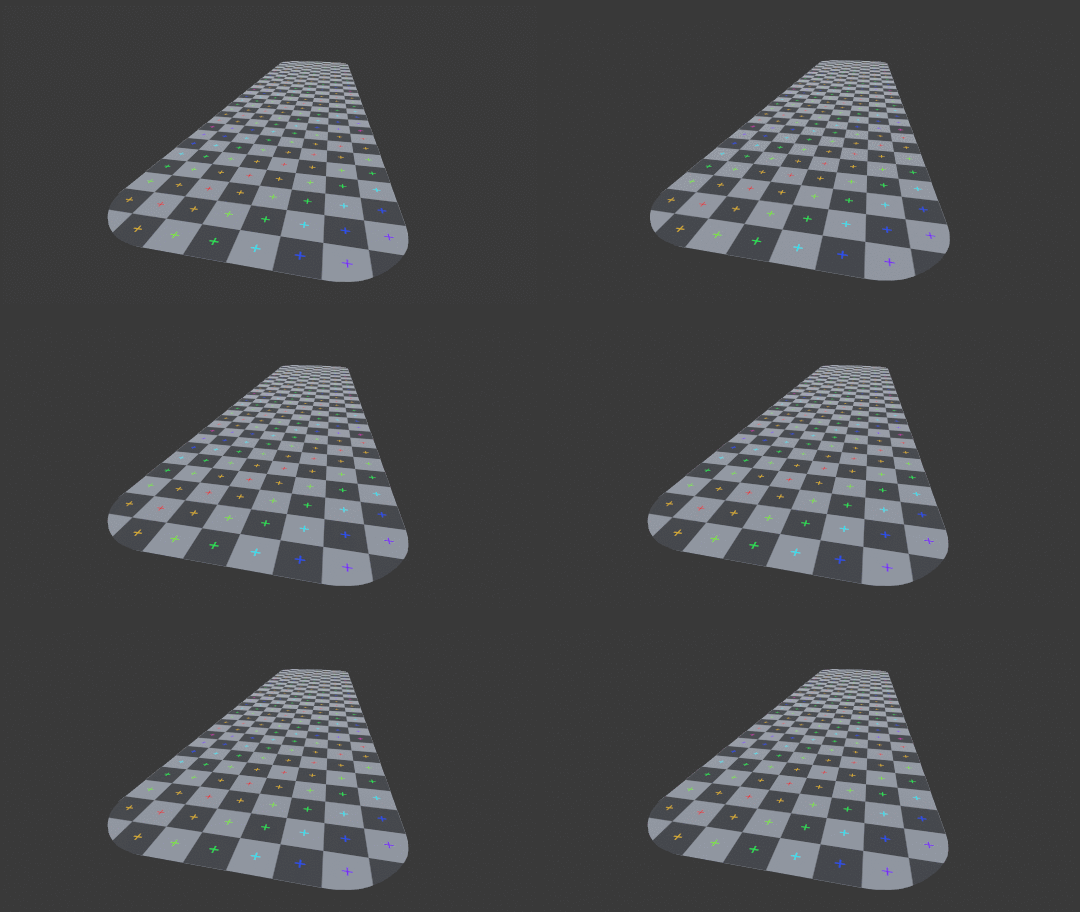
Unity will skip several frames when a scene is played in-editor due to loading. To avoid this, press Pause before pressing Play. This will allow the scene to fully load, at which time you can Unpause to run the scene.
The camera shake ends very abruptly right now; we can create a smoother falloff by raising trauma to a power.
// Add as a new field. [SerializeField] float traumaExponent = 2; … // Add to the top of Update(). float shake = Mathf.Pow(trauma, traumaExponent); // Modify the existing code. transform.localPosition = new Vector3( maximumTranslationShake.x * (Mathf.PerlinNoise(seed, Time.time * frequency) * 2 - 1), maximumTranslationShake.y * (Mathf.PerlinNoise(seed + 1, Time.time * frequency) * 2 - 1), maximumTranslationShake.z * (Mathf.PerlinNoise(seed + 2, Time.time * frequency) * 2 - 1) ) *shake; transform.localRotation = Quaternion.Euler(new Vector3( maximumAngularShake.x * (Mathf.PerlinNoise(seed + 3, Time.time * frequency) * 2 - 1), maximumAngularShake.y * (Mathf.PerlinNoise(seed + 4, Time.time * frequency) * 2 - 1), maximumAngularShake.z * (Mathf.PerlinNoise(seed + 5, Time.time * frequency) * 2 - 1) ) *shake);
The impact itself is currently driven by manually initializing trauma to 1. To allow objects in the world to drive impacts, we will expose the ability to add trauma through a public method. Add the following code to the ShakeableTransform class...
// Modify trauma to initialize to 0. private float trauma =0; … // Add at the bottom of the class, just before the closing curly brace. public void InduceStress(float stress) { trauma = Mathf.Clamp01(trauma + stress); }
...and add the code below to the Explosion script.
// Add at the end of Start().
target.InduceStress(1);
Finally, back in the scene, set the ExplosionNear game object to active. This is an explosion particle effect that triggers a short delay after the scene is run.
This is pretty effective; however, it does not take the distance between the explosion and the camera. Set both the ExplosionMiddle and ExplosionFar objects active and run the scene. All three generate the same amount of trauma—we will modify our code to instead factor distance in when applying the impact.
// Add as a new field.
[SerializeField]
float range = 45;

…

// Add just below the GetComponent line in Start().
float distance = Vector3.Distance(transform.position, target.transform.position);
float distance01 = Mathf.Clamp01(distance / range);

target.InduceStress(1 - distance01);
The distance is taken between the explosion's position and the camera's. It is then divided by the maximum radius of the impact to get a value in the 0...1 range. This value is inverted, making it so that distance01 is maximized when the explosion is directly near the camera, and minimized when it is further away.
This has created a smooth falloff, where distant explosions generate less shaking, but has also resulted in significantly less trauma being applied to the camera. We will resolve this by updating some of the fields on the ShakeableTransform.
Maximum Translation Shake will be set to (1, 1, 1), Maximum Angular Shake to (15, 15, 10) and Trauma Exponent to 1—the exponential falloff isn't as needed right now. (These are the settings used in the animation at the top of this article.)
Before wrapping up, we'll add a field to control the maximum possible stress generated by the explosion, and plug distance01 into a simple equation to add some falloff, similar to what we did with trauma in ShakeableTransform.
// Add as a new field.
[SerializeField]
float maximumStress = 0.6f;

…

// Add immediately below the line declaring distance01.
float stress = (1 - Mathf.Pow(distance01, 2)) * maximumStress;

target.InduceStress(stress);
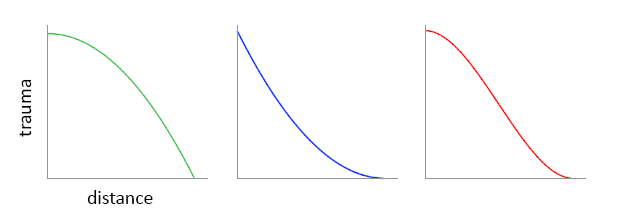
Once again, we use exponentiation to control our falloff, taking distance01 to the power of 2. Note that we perform this operation before inverting the value. This creates a convex falloff curve that favours nearby explosions causing more stress than they would with a linear curve; taking the exponentiation after inverting gives the opposite result. Alternatively, we could have used a different smoothing function entirely, like Mathf.SmoothStep, or manually create the falloff curve using the AnimationCurve class.
Conclusion
Shaking effects—either generated randomly or through pseudo-random noise—can be used for more than just camera impacts. A lower frequency noise can simulate a handheld camera. UI elements can benefit from shake as well; added to dialogue text, the jittery motion can create a sense of fear or panic, while player health indicators can shake each time damage is taken.
View sourceLeave me a message
You can contact me about this article at Copied to clipboardroystanhonks@gmail.com 📋 roystanhonks@gmail.com 📧 . Sometimes I receive a lot of messages, but I'll try and get back to you as soon as I can!